PhysicsGuy
Fascinating Ideas, Tried and True
Using a Digital Scale to Measure High Voltages
Using a low-cost digital scale to measure high voltages is fairly easy.
These devices can be used to teach the fundamentals of electrostatics,
including charging by induction and the principles of how electrostatic
generators work. These principles are now being used in
current research efforts involving developing new types of generators
that don't use coils or magnets, and new types of flying machines that
don't use propellers or motors. This article shows you how to build a
high voltage detector using a digital scale and describes some ways of
applying it to real experiments.
Here are the components you will need: Two pieces of foam, two wires
with aligator clips at each end, and some copper or aluminum foil tape
and four pencils.
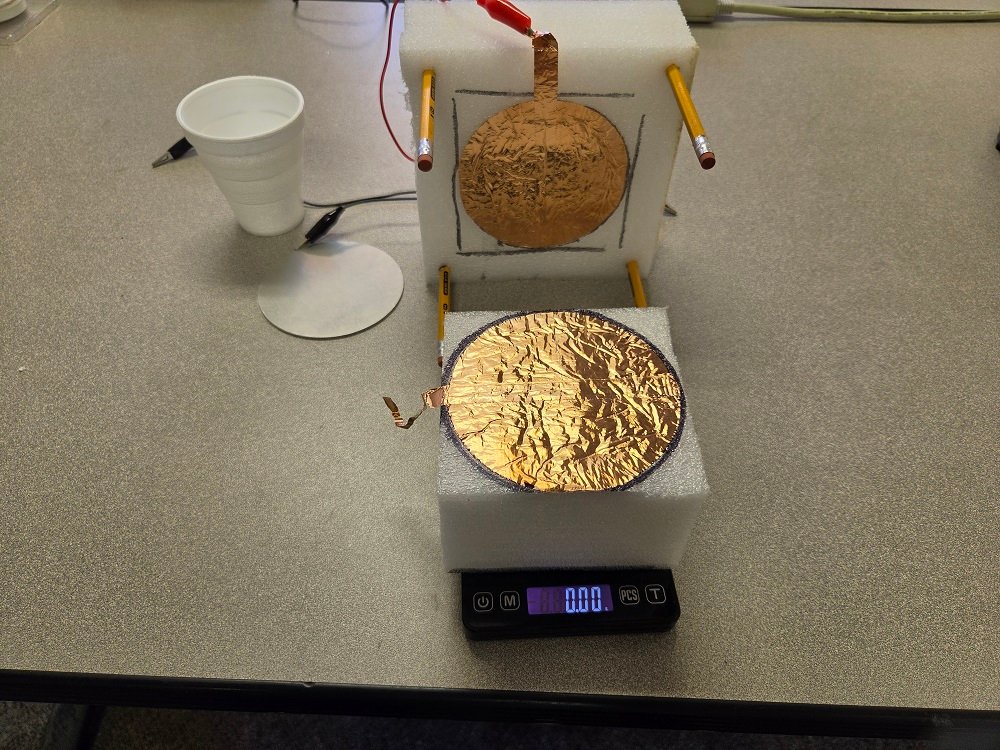
Cut the foil into a circular shape. Make two of them. If you use 2"
wide tape, you will have to overlap two pieces to make a 4" circle. Cut
two pieces of the foil tape into narrow 8" strips.
Cut a piece of styrofoam into 4"X4" block. You can use various types of
rigid or semi-rigid foam for this, but the foam you use should be at
least 1" thick. Cut another block that is 6"X6". Use a drill, or a drill press if
you have one, to drill 4 holes in the corners of this block. Each hole
should be 1/2" from each side. The hole diameter should be just large
enough to fit a pencil tightly into the hole.
Attach the foil circles to the foam as shown in the picture. Place the
narrow strip so that it goes completely through the
circle and hangs out of the end of the foam block. Place the smaller block with the foil facing upward on the digital scale as shown above. Now
turn on your scale. If it doesn't read 0 press T, the tare button.
Digital scales are sensitive to high voltages. The bottom foam blockisolates the scale from high voltages.
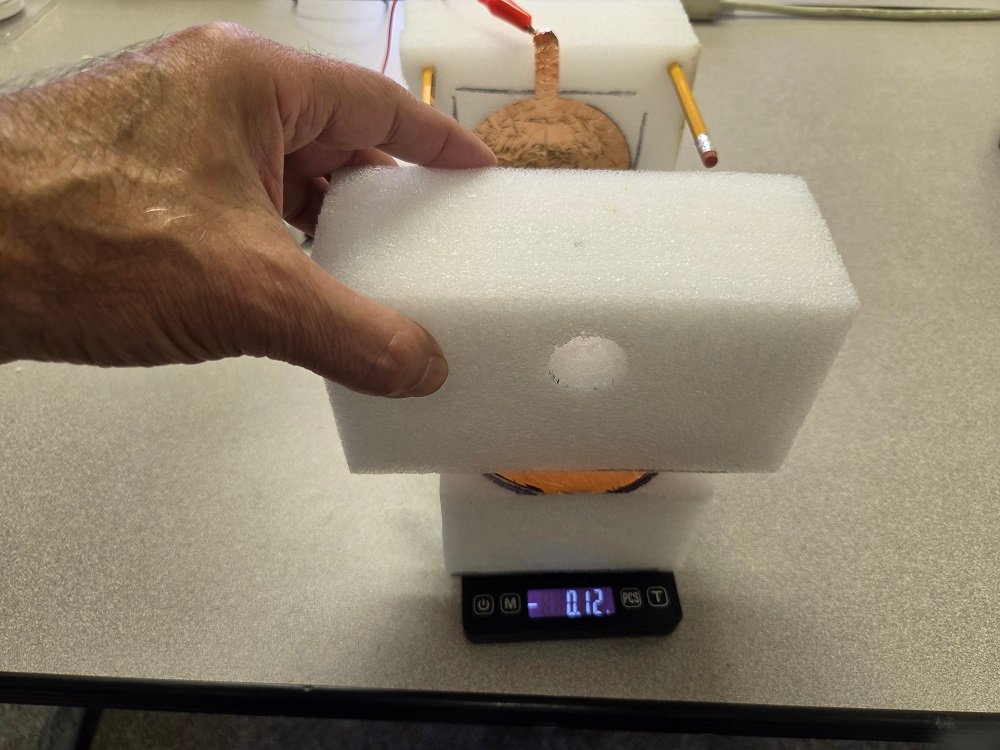
You can test your scale by charging an extra piece of foam. Rub it on
your hair to give it a negative charge. Hold it just above the bottom
foil circle without touching it. Notice that there is an upward force
on the scale. The gram weight shown on the scale is negative. Do you
know why? It's not because the foam has a negative charge. Positive
charges in the foil are attracted to the foam and pulled closer.
Negative charges are repelled and pushed further away. The net effect
is the foam attracts the foil upward. Even if the foam had a positive
charge, it would still pull the foil upward.
Insert the pencils in the upper block and adjust them so that the
two foil circles will face eachother when the upper block is placed on
top of the smaller block. You can adjust the spacing between the foil
circles to increase or decrease sensitivity.
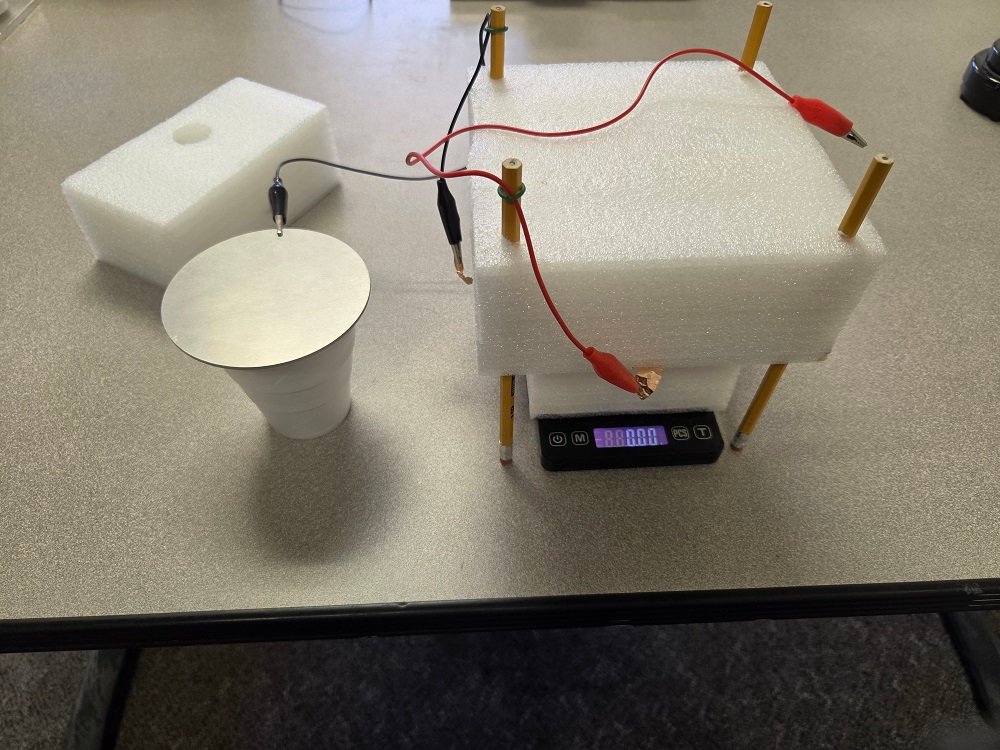
Your
high voltage detector should look like the above picture. Alligator
clips are used to make connections to the foil circles. The wires are attached to the pencil tops with rubber
o-rings or elastics as shown. Note the black
alligator clip is attached and supported by the upper block so that a minimal amount of weight is added
to the scale. Press T again to zero the scale.
Now let's connect the scale to Wimshurst generator to see if it works.
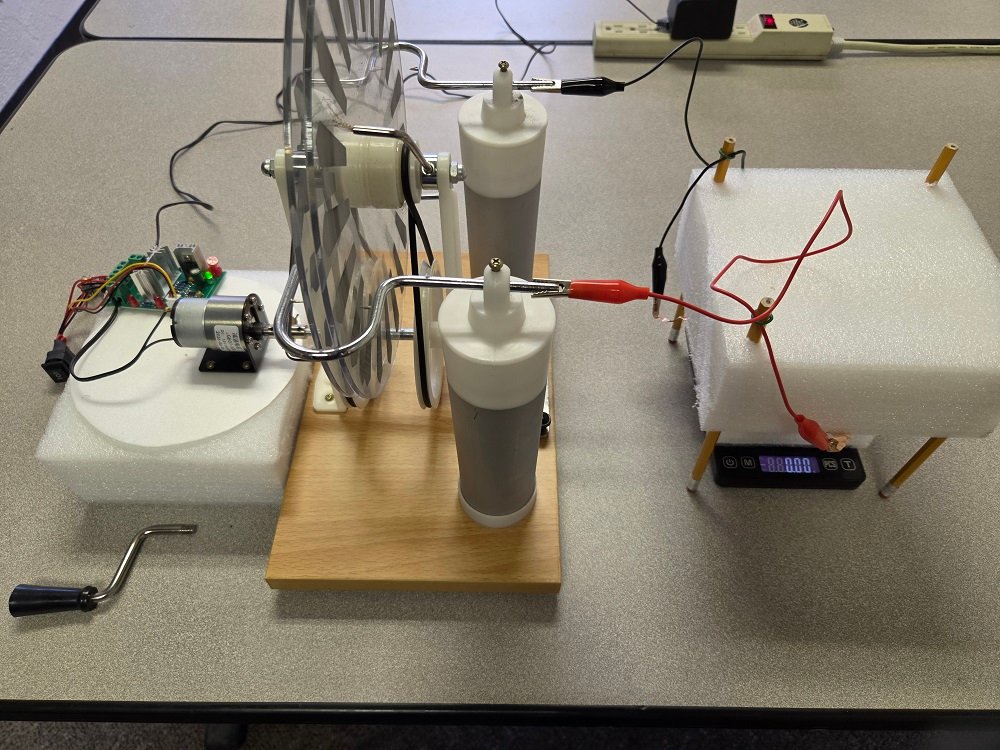
You could rotate the Wimshurst disks with a hand crank. We use a motor here.
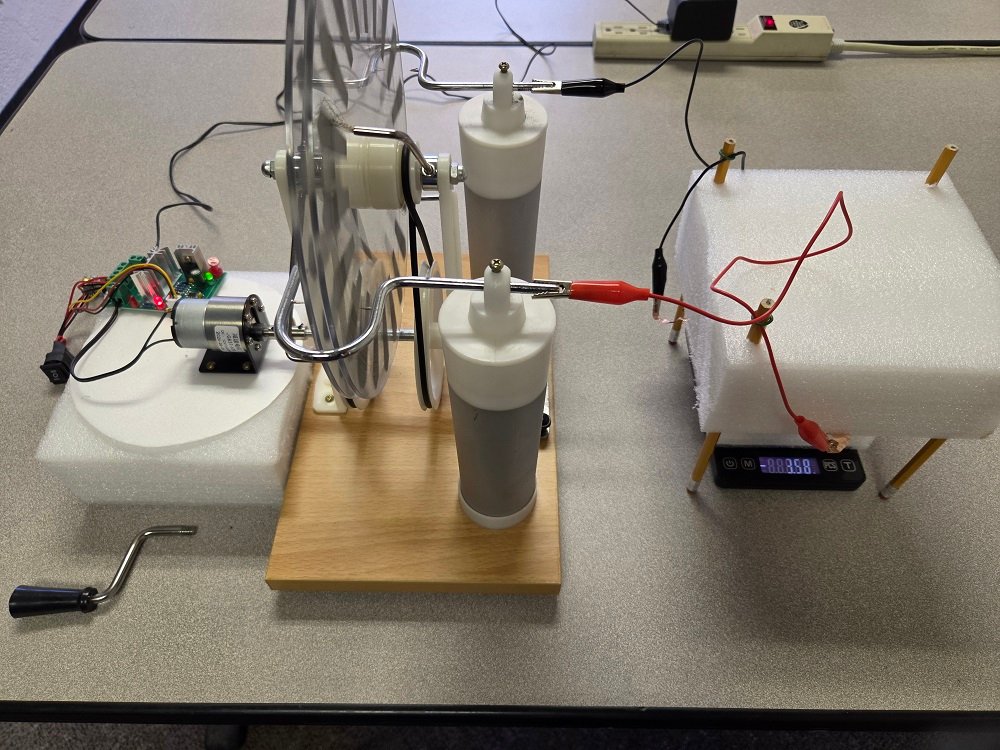
Wow! That's a force 3.58 gram-weight,
or F=mg = .035 Newtons. That force can make 1 cm
sparks which requires 30kV in air!
Now lets discharge the Wimshurst to make sure the scale goes back to 0.
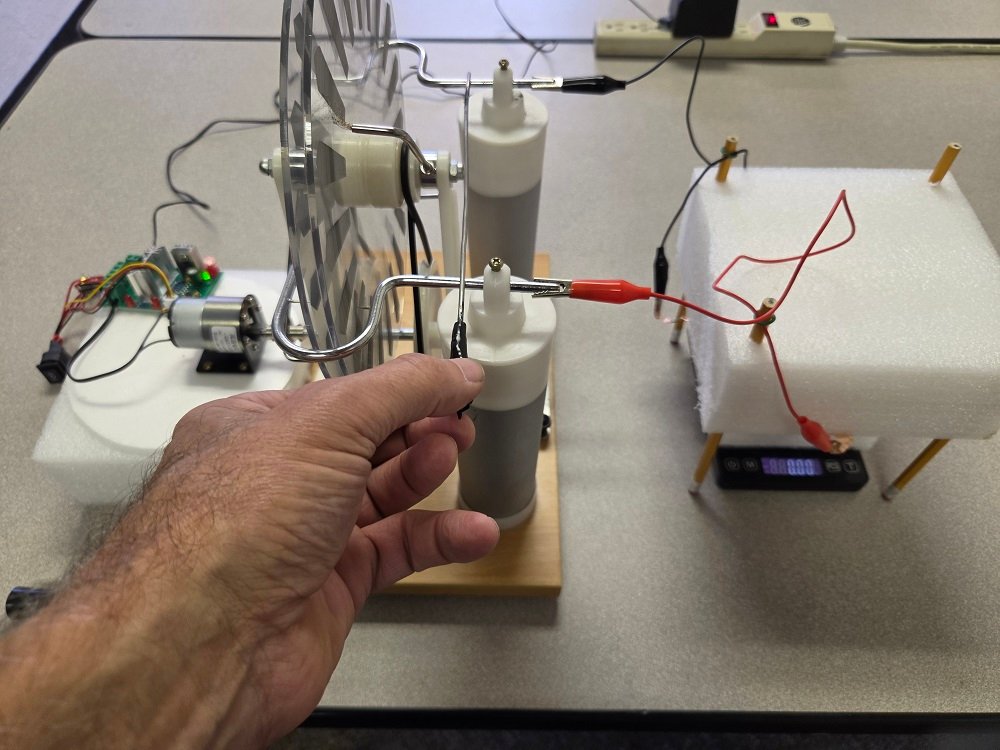
That makes sense. If the voltage is
zero across the Wimshurst capacitors, then the scale should read zero.
Note that before I discharged it with a metal rod the gram-weight
slowly decreased. At very high voltages, charge starts leaking away from the sharp
edges of the Wimshurst generator and the sharp edges of the copper
foil used in this high voltage scale detector. Studying that is a
completely different topic which we will discuss in future publications.
Charging by Induction
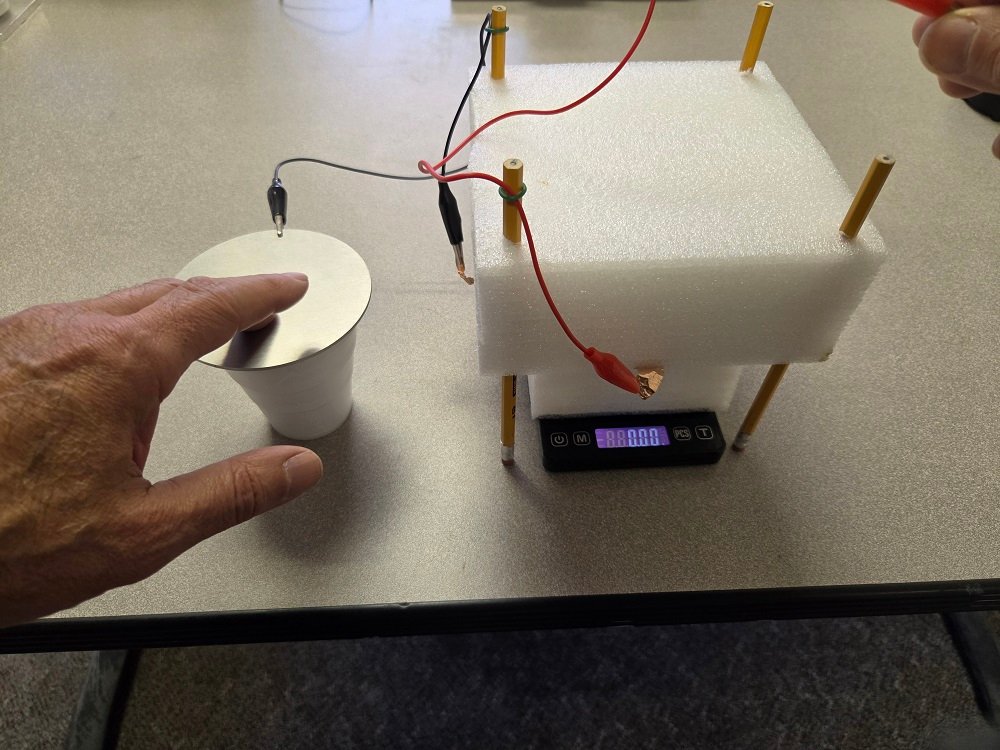
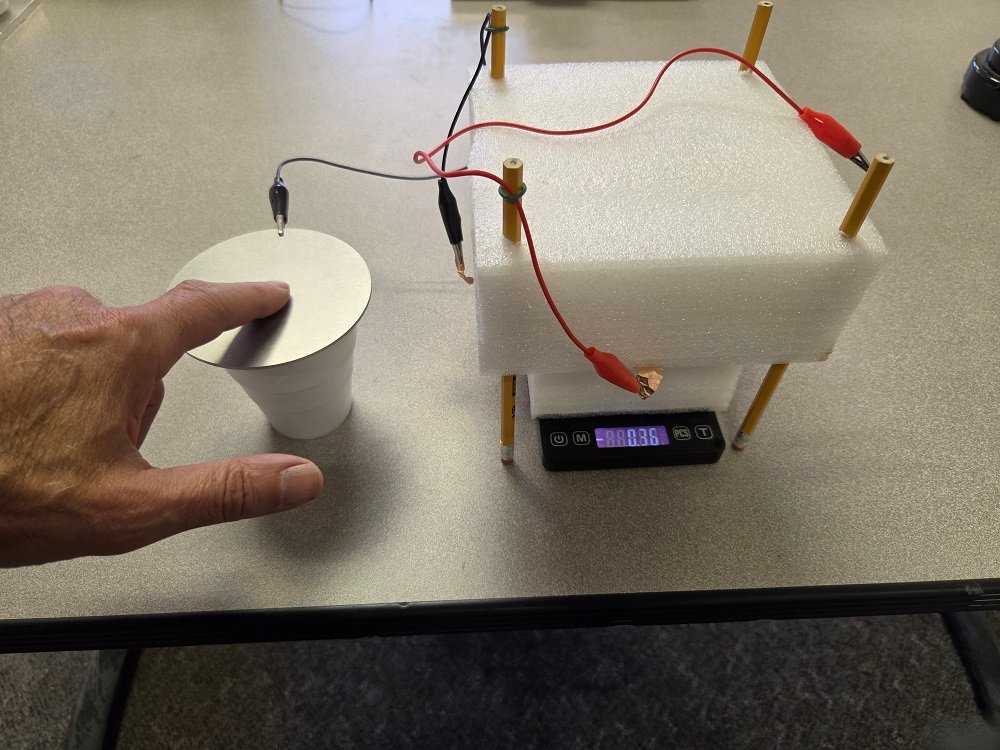
Let's test this setup by charging a
piece of foam and placing it on top of the metal disk shown in the
picture. A styrofoam cup is used to make sure the metal disk is
electrically isolated from the table.
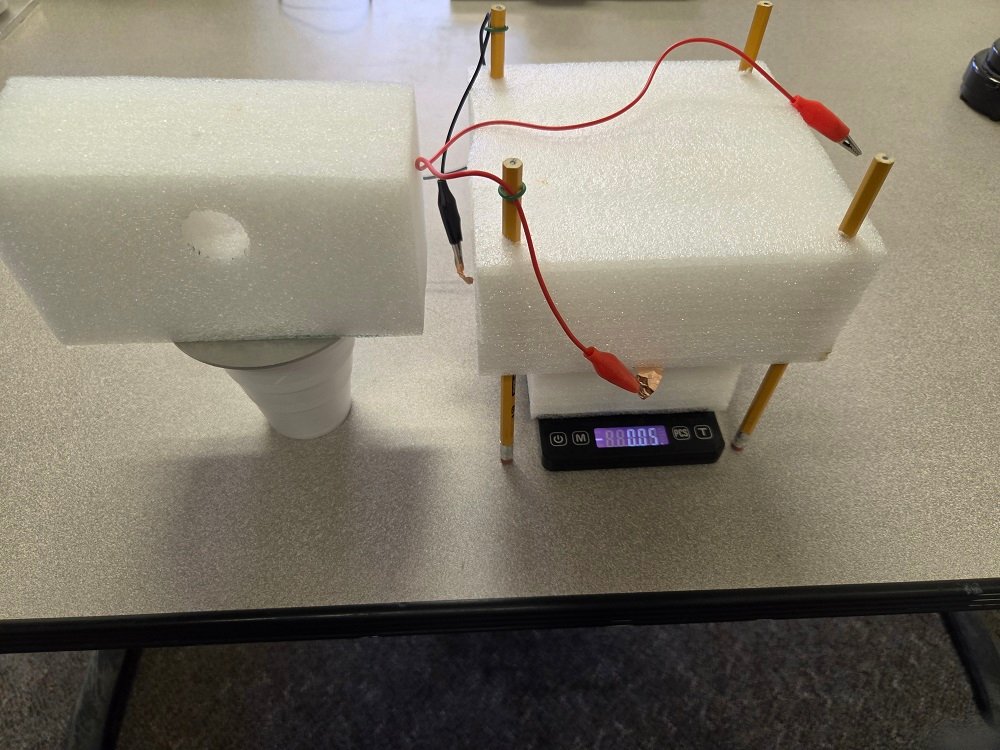
Charged
foam is shown here on top of the metal disk, which is connected to the
bottom foil circle. This is similar to placing charged stryrofoam just
above the bottom foil plate. Or is it? The metal disk pulls positive charges
from the bottom foil plate making it negatively charged. This pulls the
lower foil circle to the upper foil circle. But the scale can't tell
the difference. It will register a negative gram weight regardless of
whether the bottom foil circle has positive or negative charges.
Now let's do the charging by
induction step. Touch the red wire. Your body is effectively a ground
wire. That is you are an infinite source of positive and negative
charges. You have just charged the top foil circle by transferring
charges of opposite polarity from your hand to the top foil circle.
This charge transfer was "induced" by the charges in the bottom plate.
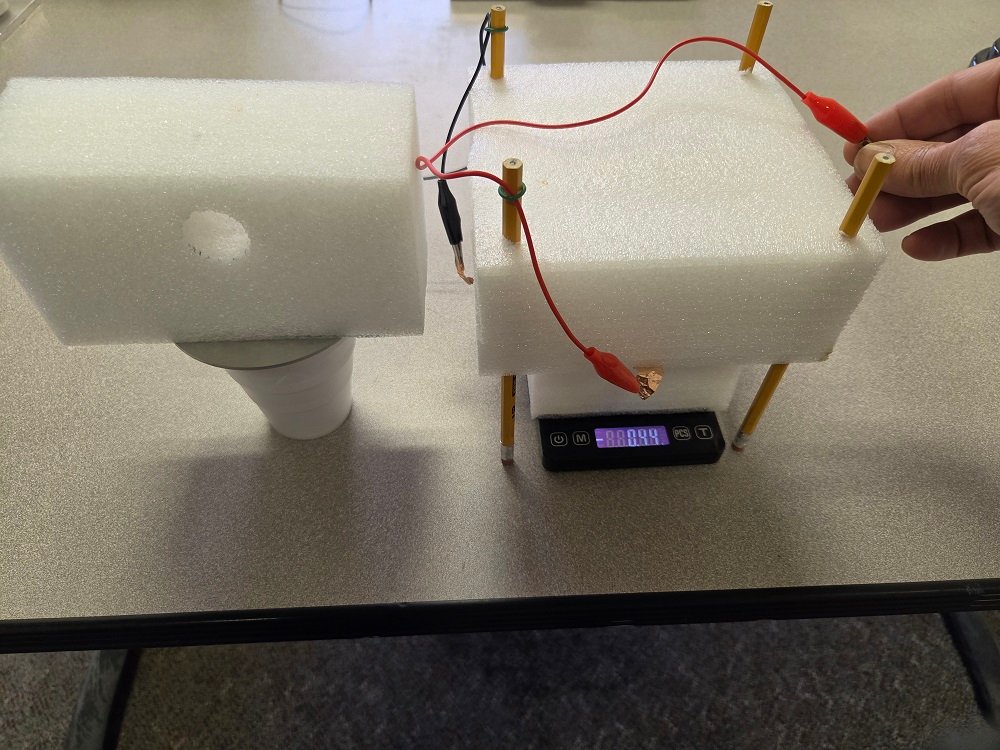
Now remove your hand from the red lead. The scale readout doesn't change. The foil circles remain charged.
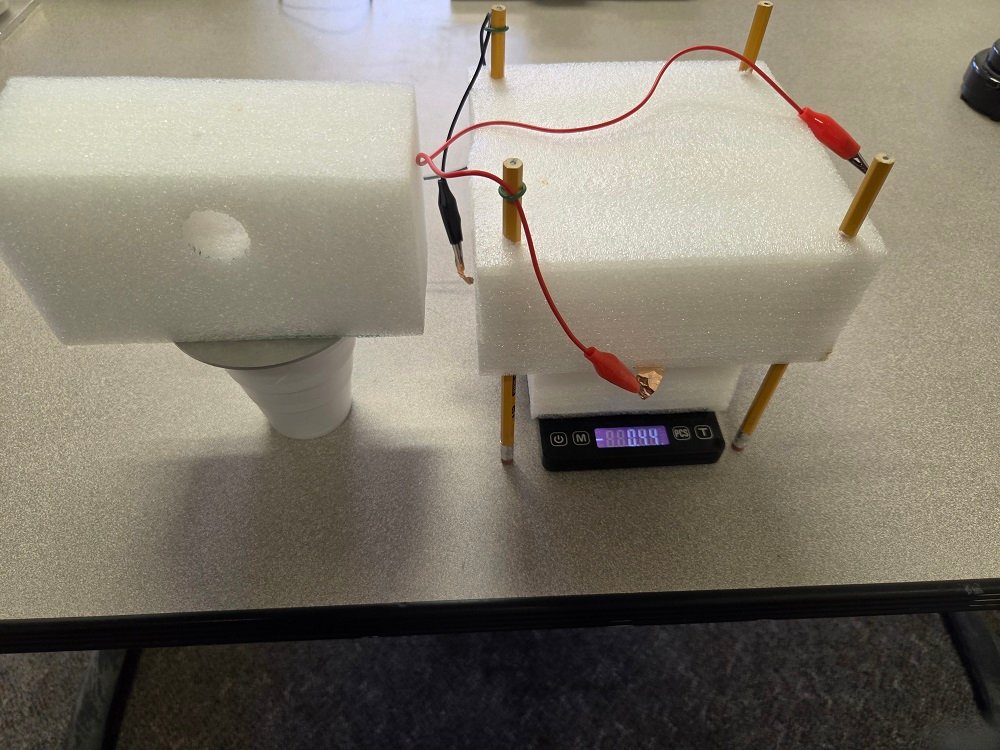
Now remove the charged foil from the metal disk.
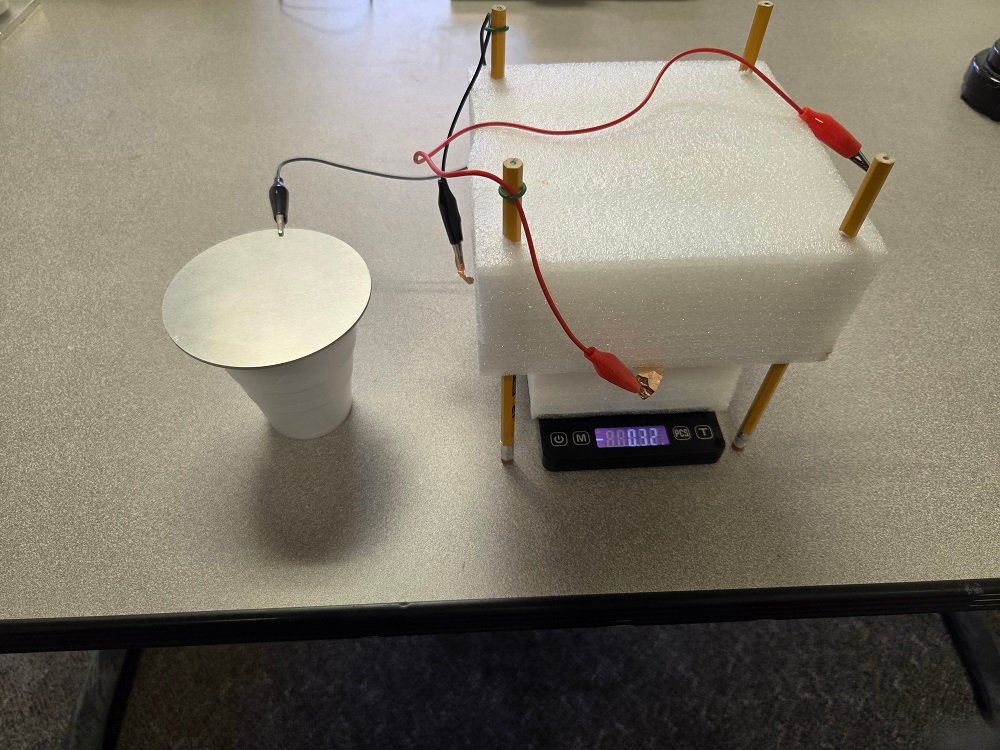
Interesting. The scale reveals the plates remain
charged, although slightly less because the charges in the foam are no
longer there. Let's remove all charges by grounding the plates. I'm
touching the red lead and the metal disk. Since my fingers act like a
grounding wire, the scale now goes back to zero indicating that all
plates are no longer charged. That's the way it should be. Our High
Voltage Digital Scale Detector works!